Panier
Close
- No products in the cart.
Sous total (Hors frais de livraison)
0,00€
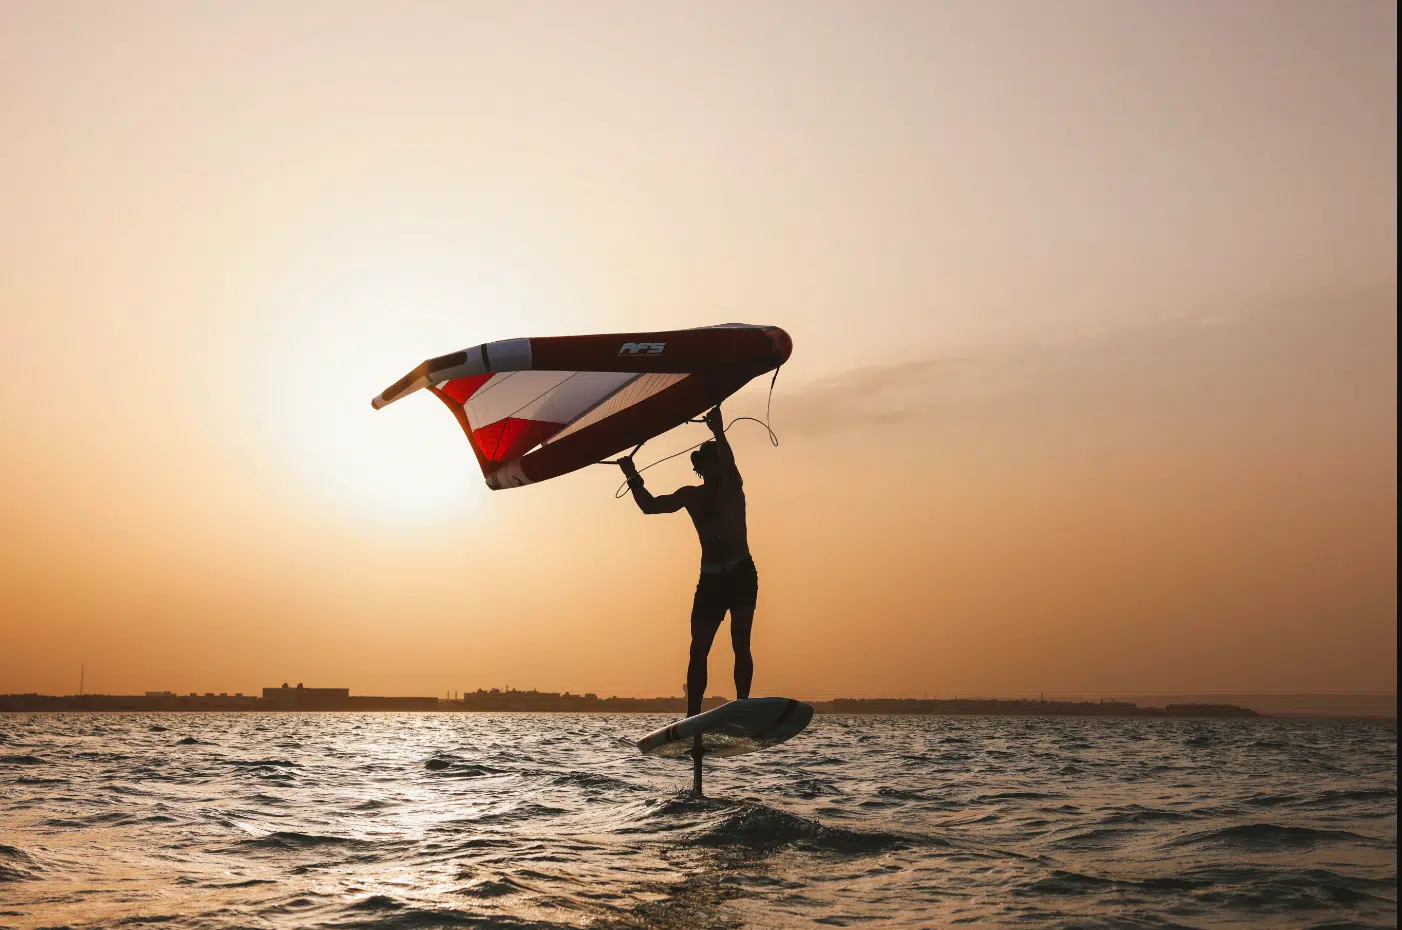
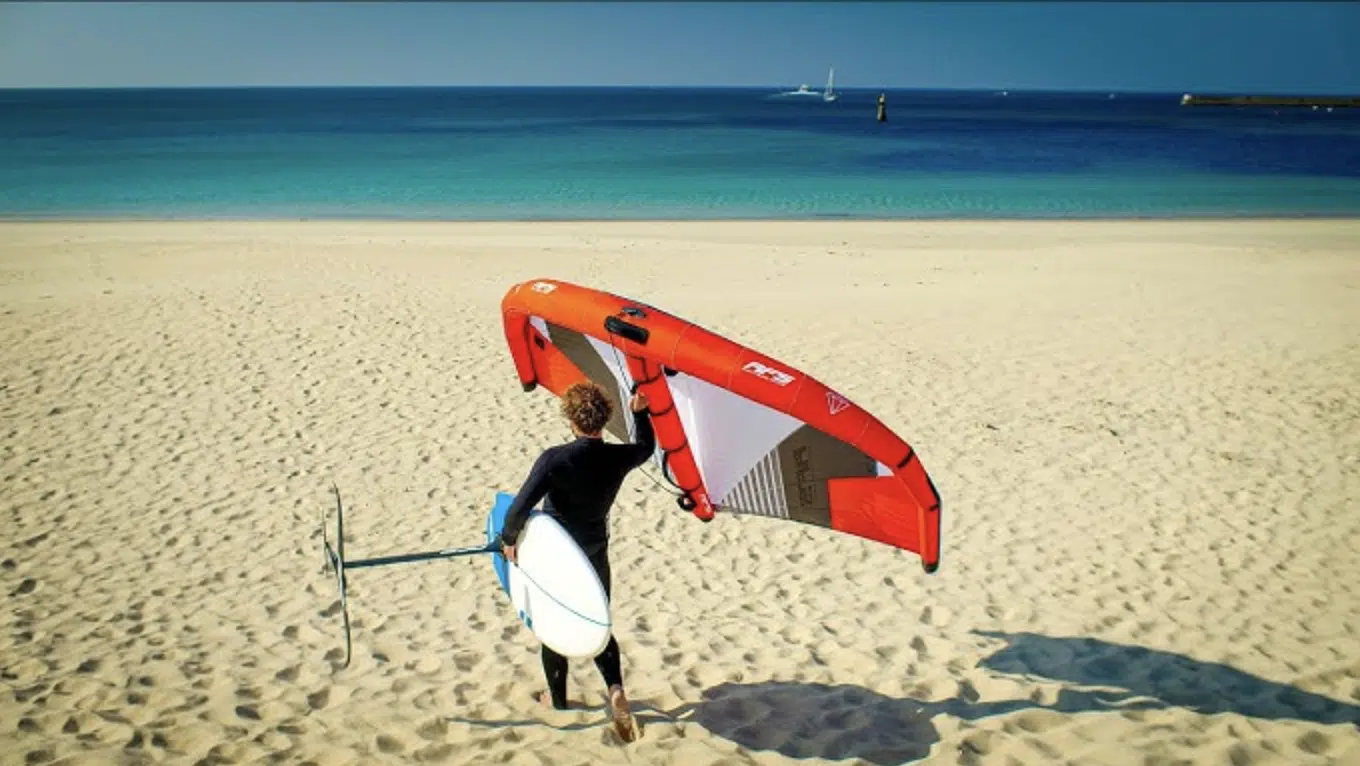
Like windsurfing and kite surfing, wingfoil is a sliding sport practiced on the water, standing up. Except that in this case, you start sitting on the board – at least when you’re just starting out – before standing up.
But maybe you’re having trouble getting up and off the ground? At AFS Foiling we look after our riders, so in this article we give you some essential technical tips for getting started in wing flying.
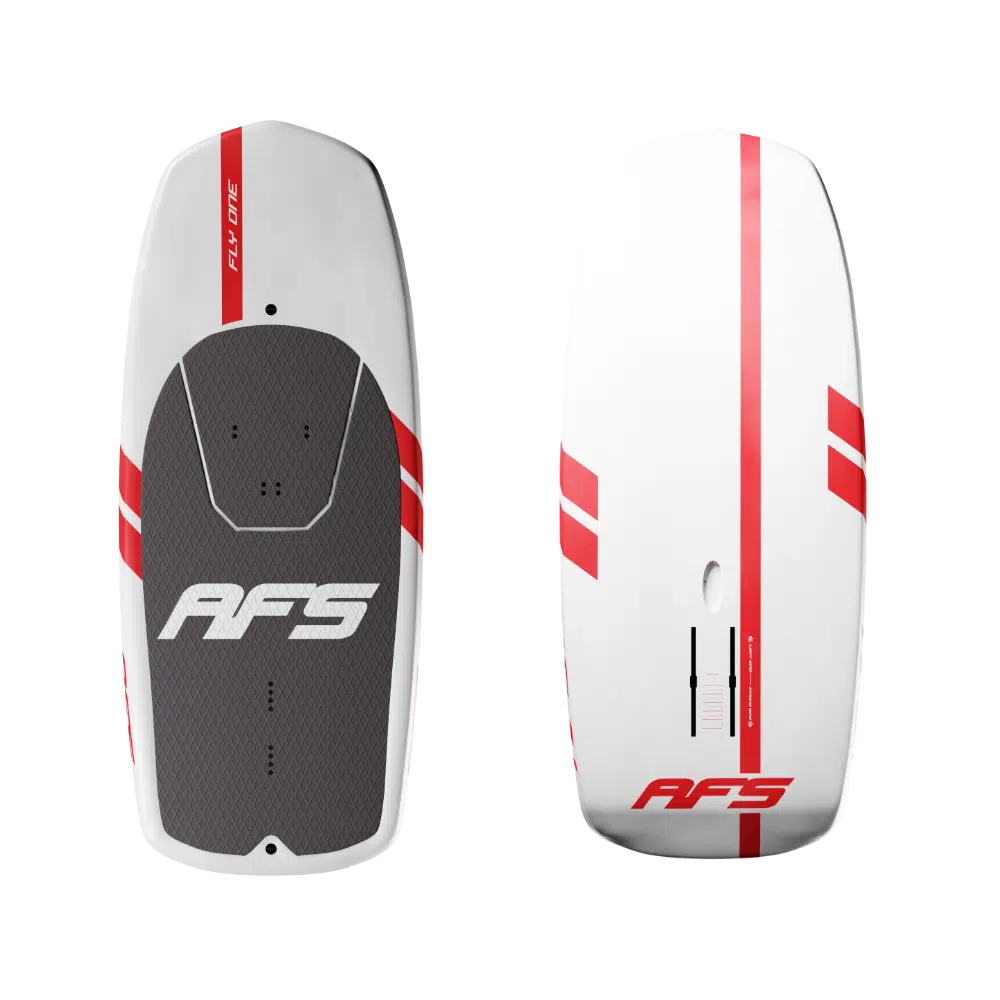
If you’re just starting out in wingfoil, a large board is highly recommended. Count on 30 or even 40 liters more than your body weight to be comfortable, both sitting and standing on the board, and therefore on the water. A wide, roomy board offers greater stability, making it easier to get in and out of the water, especially in light wind conditions. A stand-up paddle (sup) can also do the trick for your first outing on the water, before you learn to fly.
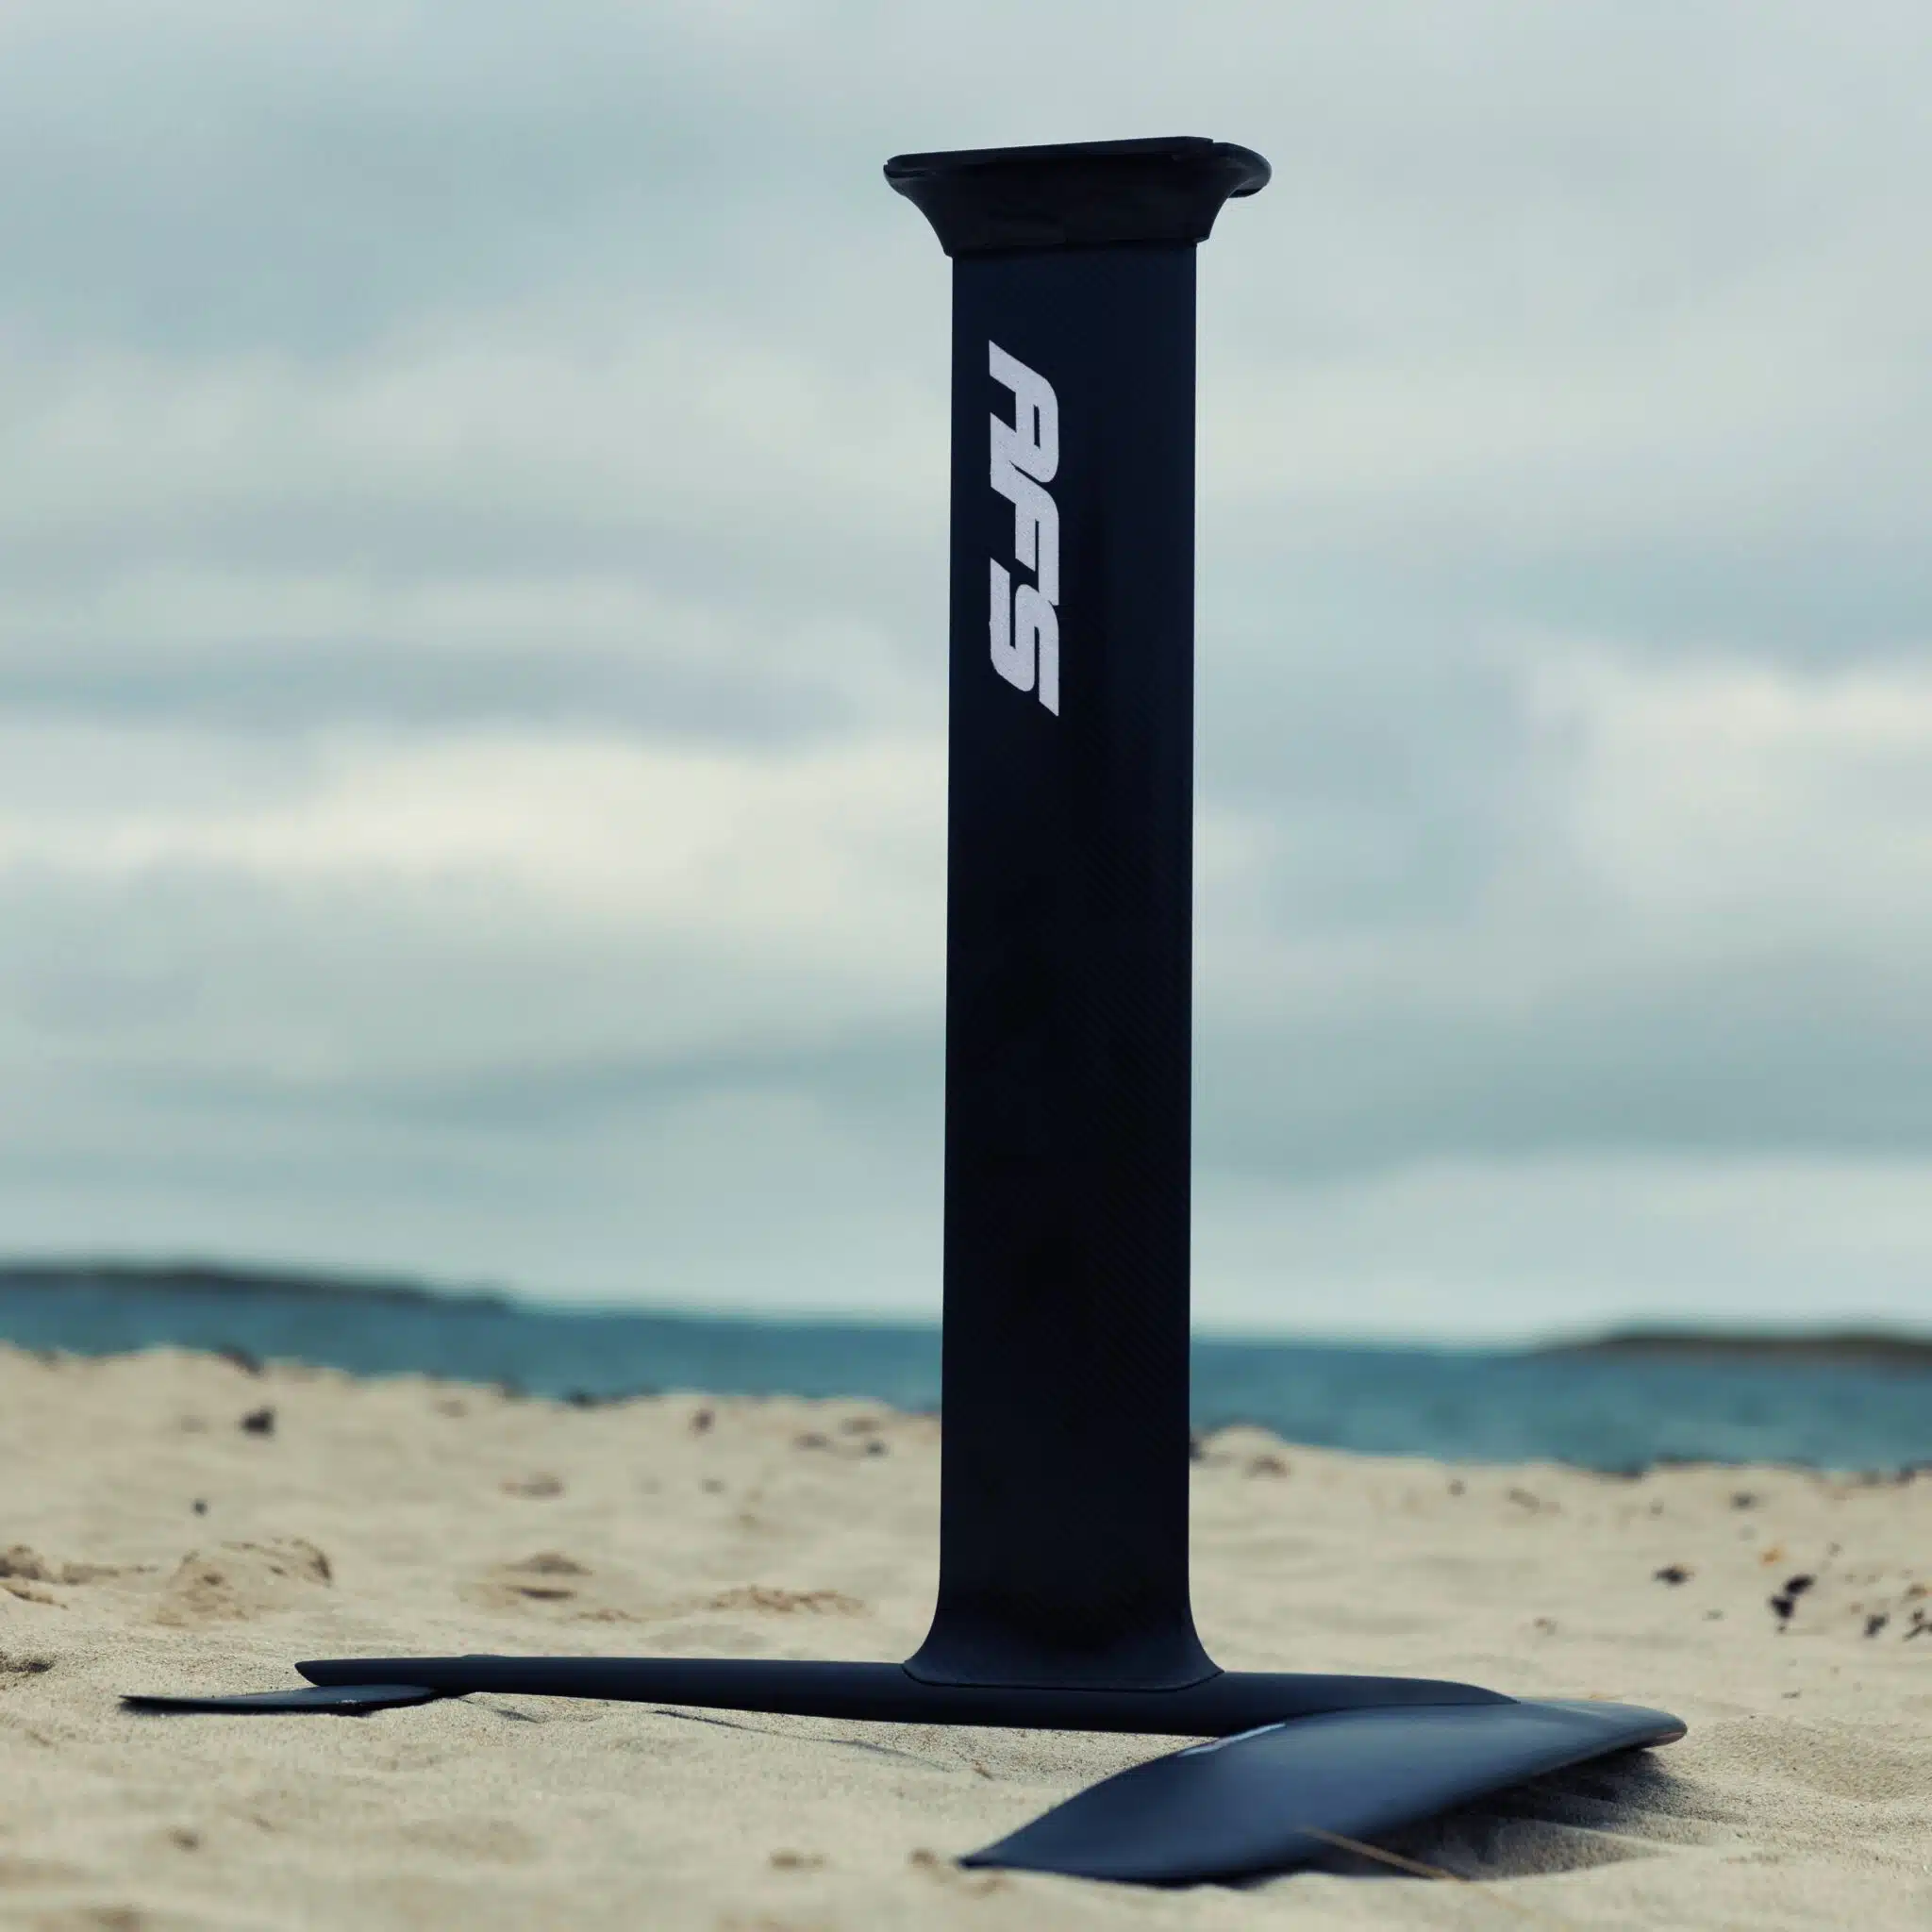
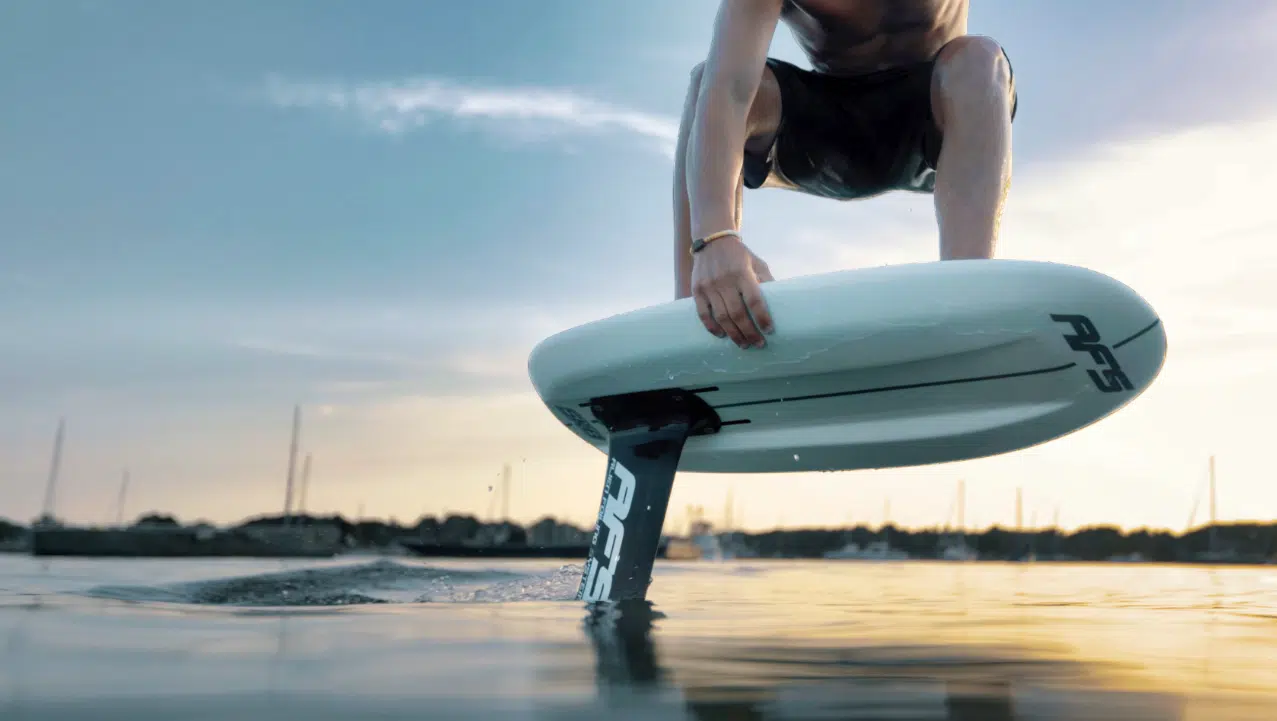
The foil, whose lower section remains submerged throughout the session, needs a large surface area. The front wing (between 1,500 and 1,900 cm² depending on your weight) and the rear stabilizer (around 240 to 300 cm²) thus contribute to better lift at low speed, making take-off earlier and easier without too much effort. Front wings with a large surface area are therefore preferable when you’re just starting out, to ensure stability and a smooth take-off.
The foil’s mast is not to be overlooked when starting out in wingfoil either. Very short (between 60 and 70 cm), it facilitates control of the foil once in the air, thus reducing the risk of falling. But too short also means more touchdowns on the water surface and more stalls once airborne. An ideal compromise for beginners is a foil mast between 75 and 80 cm.
As far as the fuselage (the part between the front wing and the stabilizer) is concerned, it’s best to make it long enough when you start out. A length of 70 cm gives the rider greater stability and smoother control in the air. Transitions are smoother, too, to avoid pitching too much during maneuvers. Nonetheless, a short fuselage offers more dynamic navigation, but that’s something to consider once you’ve gained more experience.
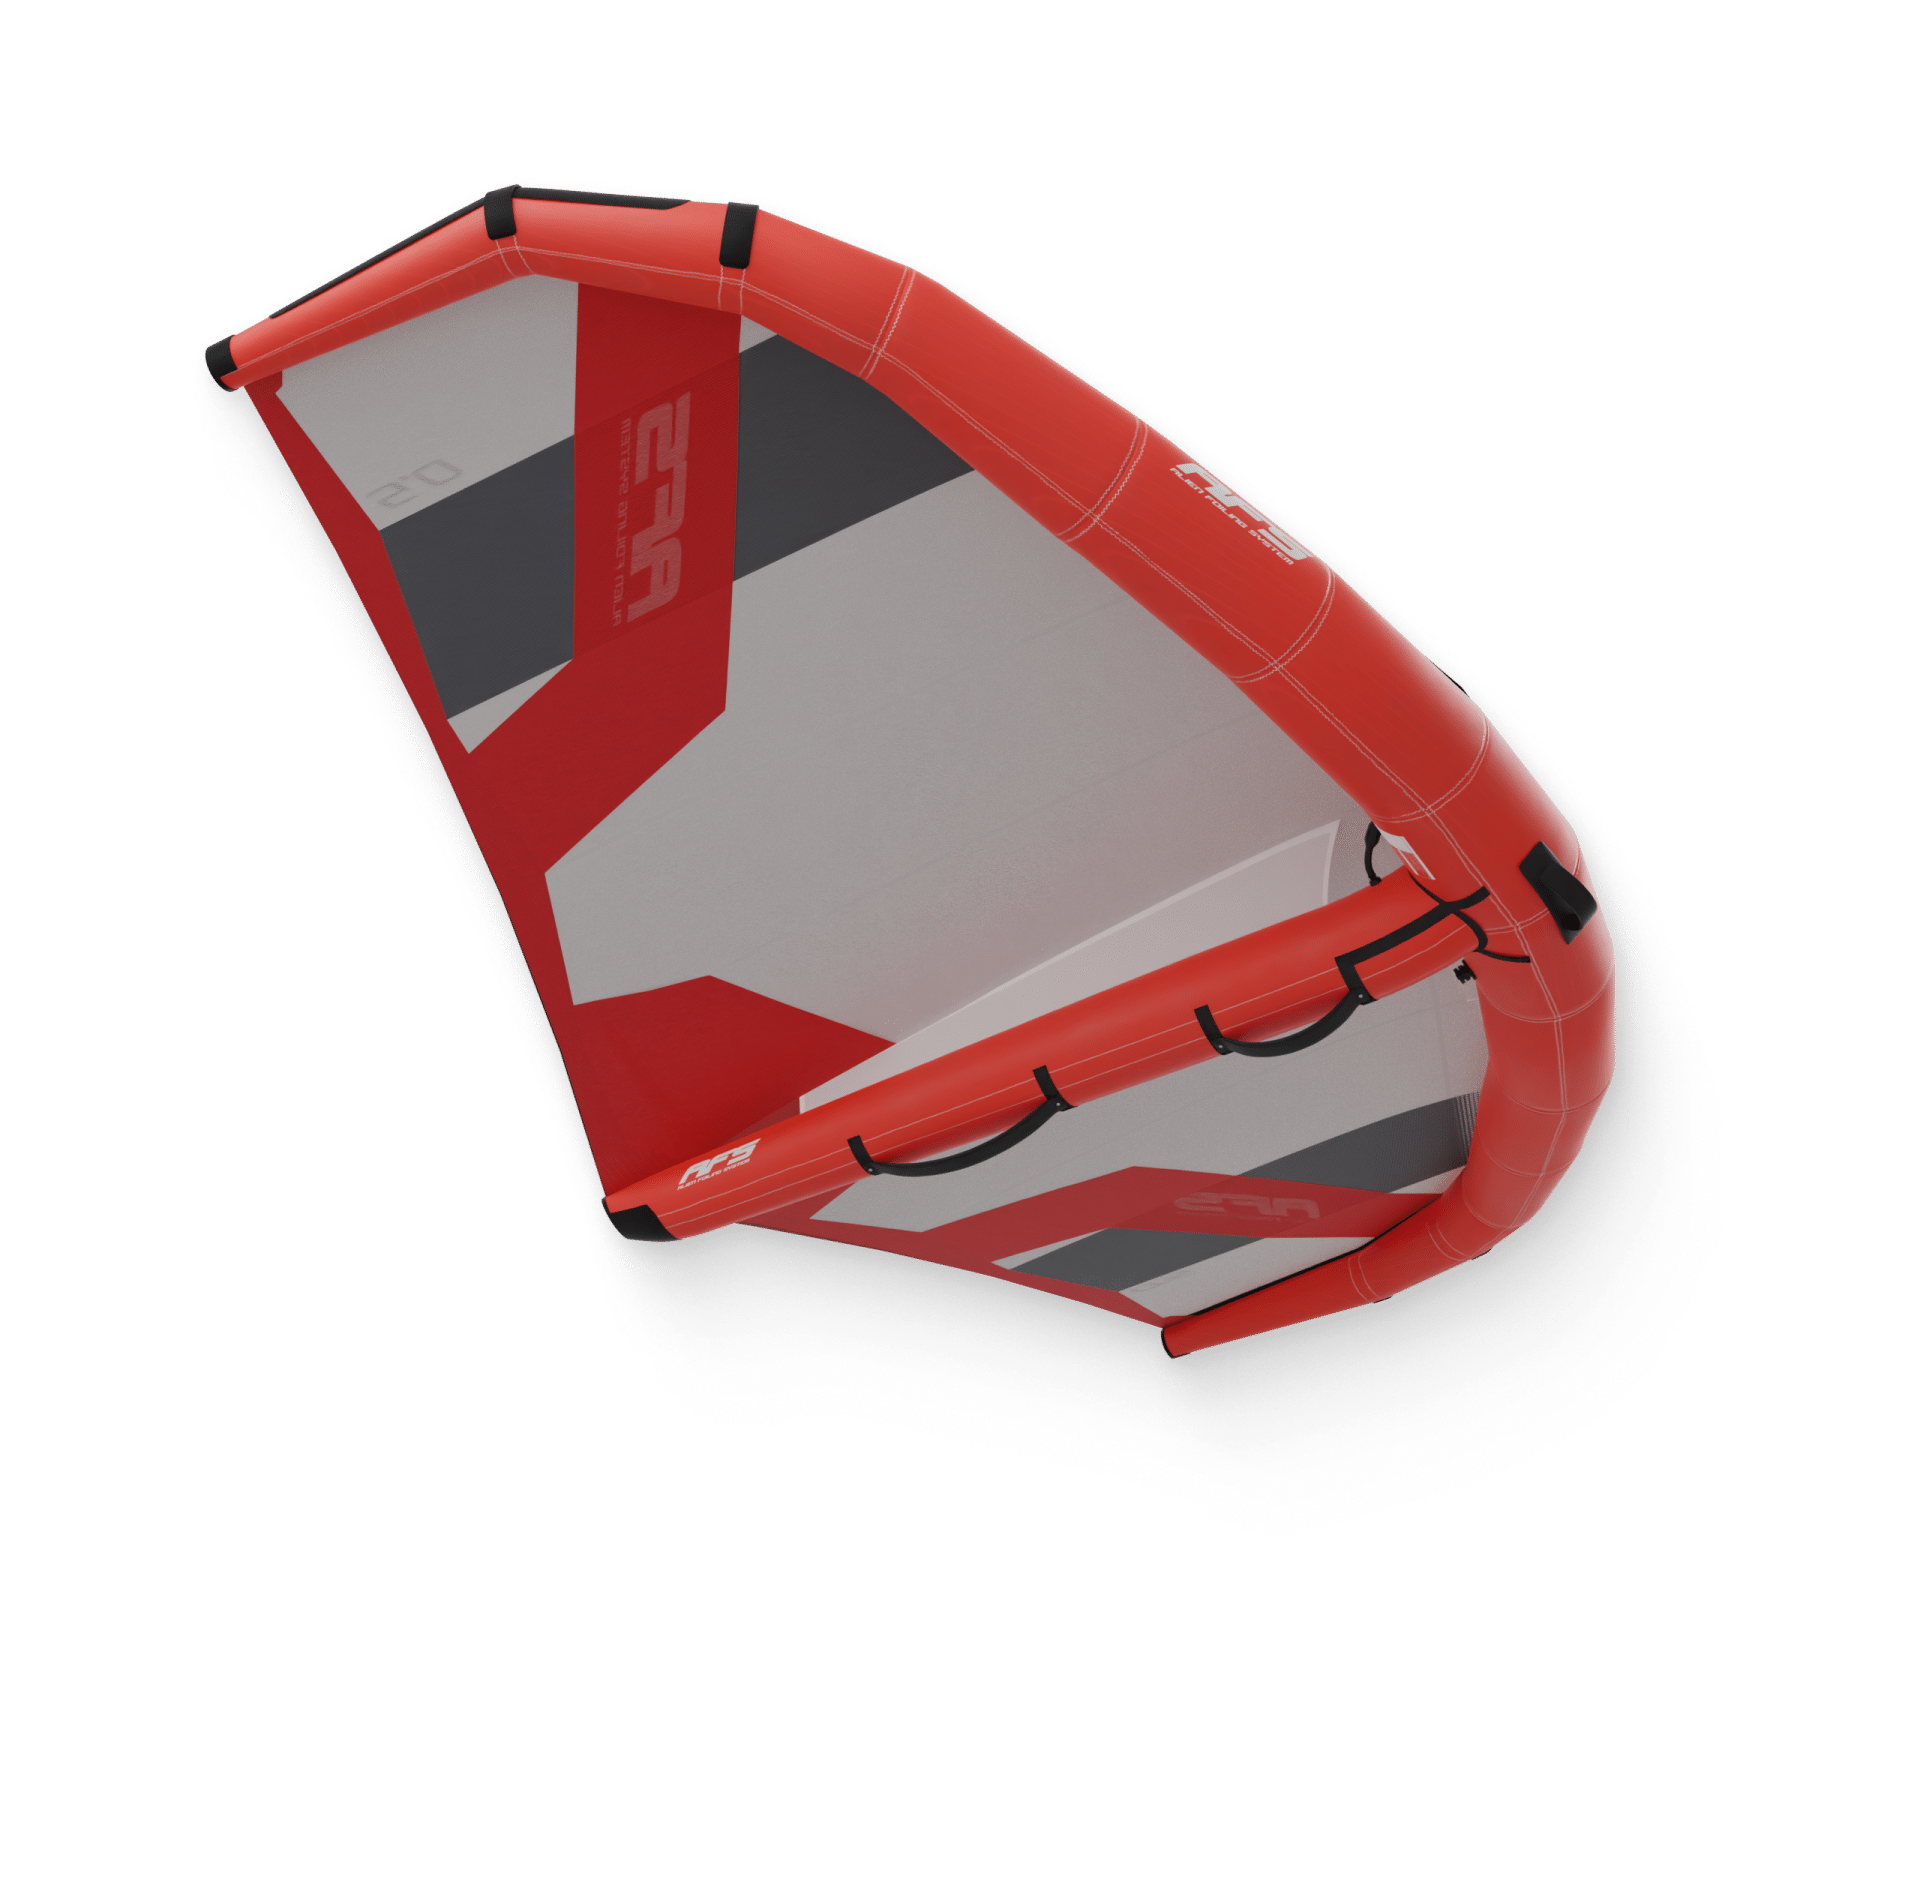
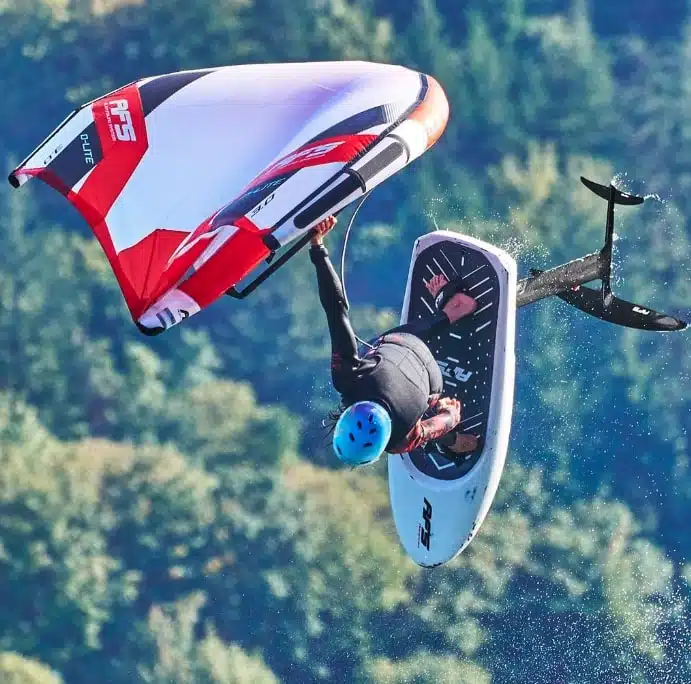
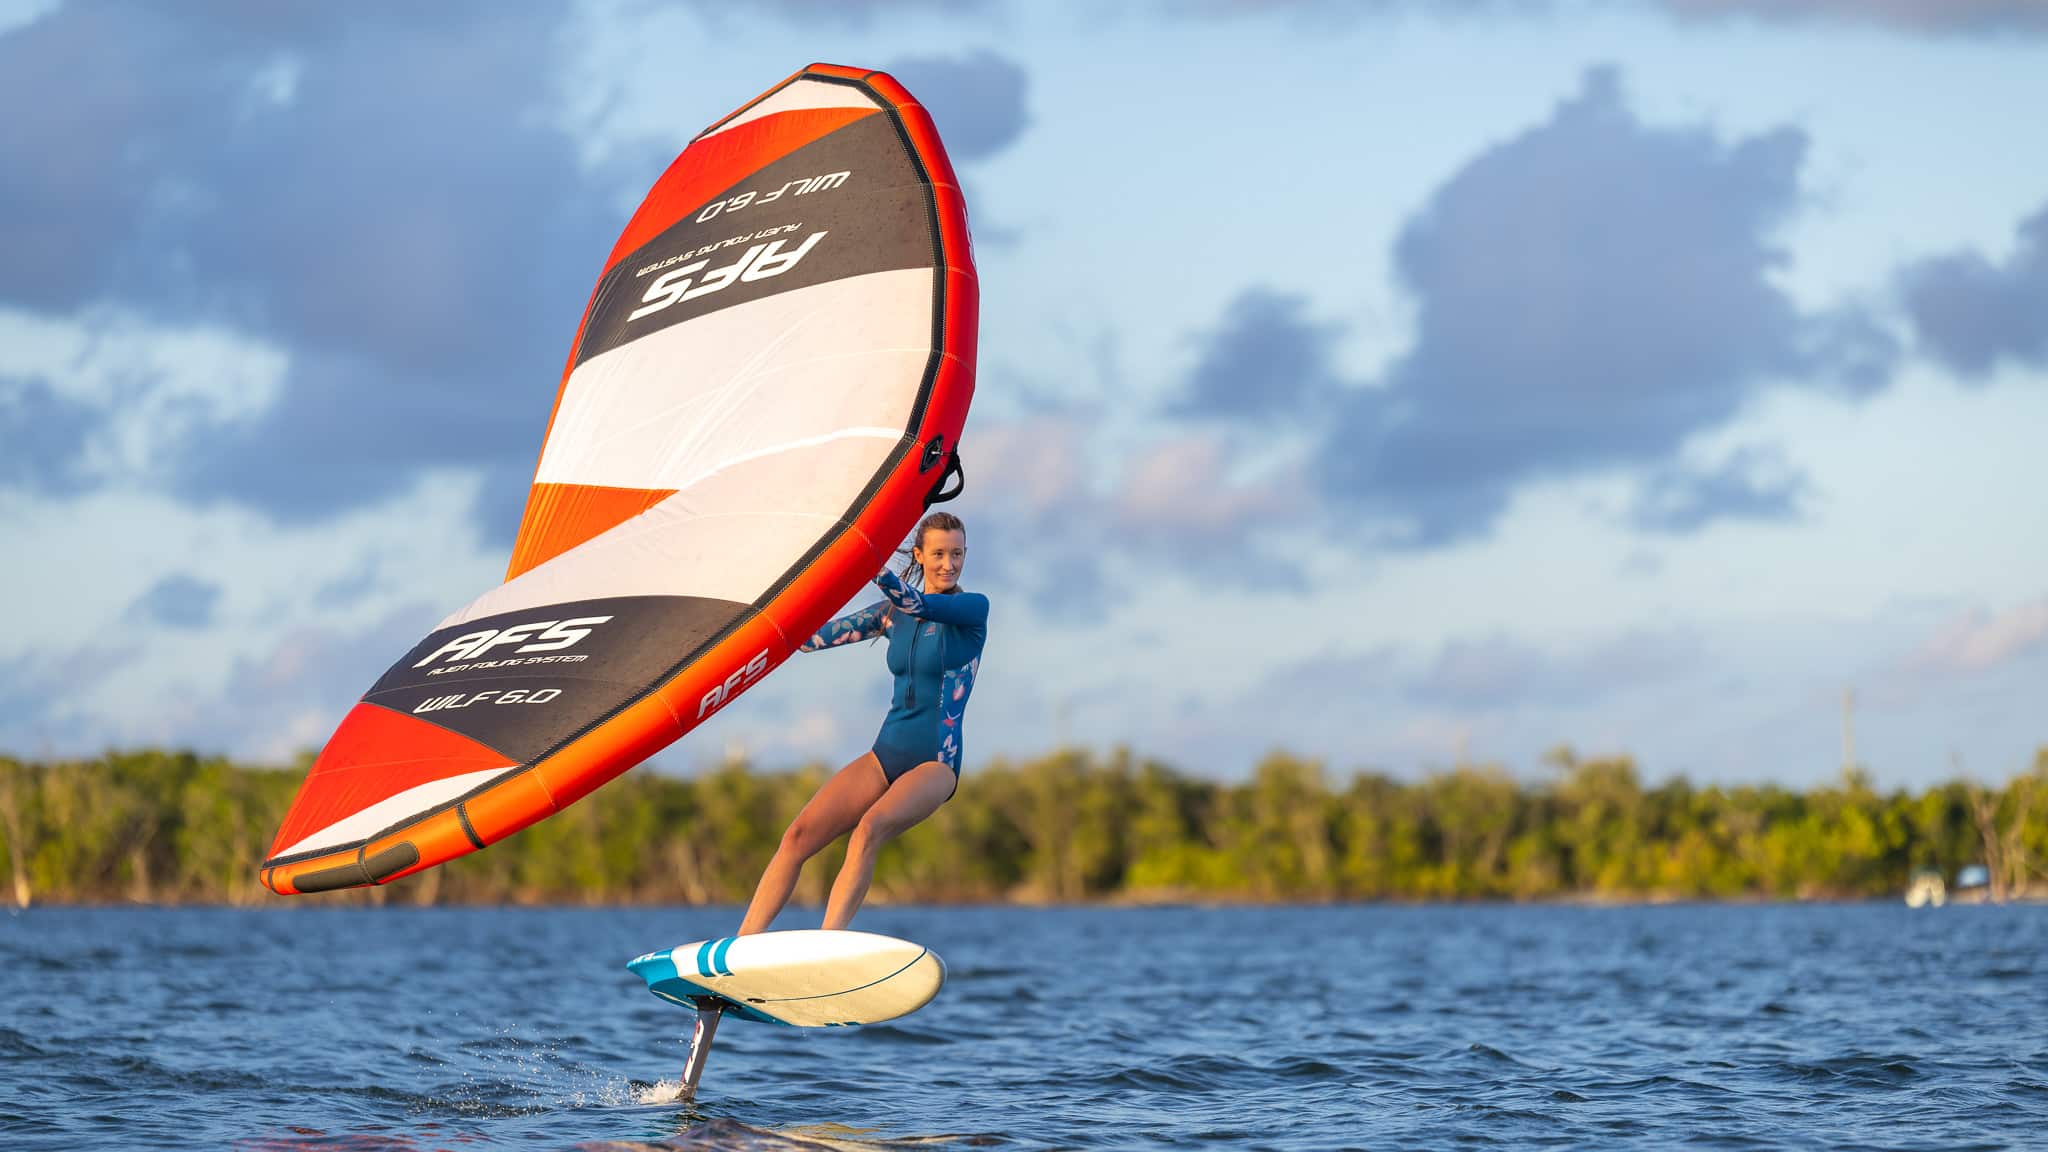
For the wing (also called sail or kite), it’s best to choose a size suited to the strength of the wind and your weight. In light winds, it’s best to opt for a larger wing for better traction and easier take-off. Conversely, in stronger winds, a smaller wing is easier to handle. When learning to wing, it’s generally advisable to be over-canopied, so as to have a little more power in the wing rather than too little. The main objective is to stand up and fly. If you’re under-canopied, it will be more difficult. To start with, the ideal size is 4m² for a person under 75kg… And 5m² with a single sail for the strongest.
The right wingfoil equipment makes learning much easier. As you’d expect, your choice of equipment depends on your level and the weather conditions of the day. Don’t overestimate yourself by buying a board or foil that’s too small… or perhaps a single wing that’s far too big for your body type! To guide you in your choice of wing equipment, it’s best to talk to the brands or shops, or watch tutorials and videos, or ask your instructor if you’ve taken wingfoil courses… There’s no shortage of that these days.
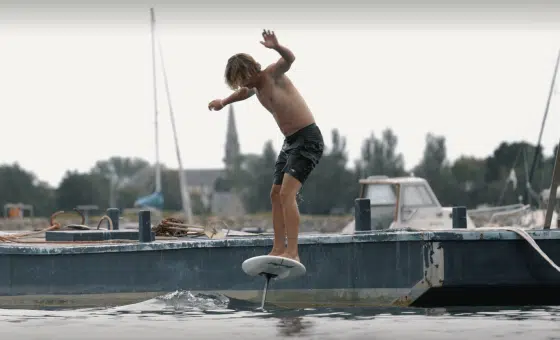
Before attempting to stand up, it’s crucial to place your knees on the board, slightly towards the nose of the board, at an angle. This is the first step towards stability. Legs should be slightly apart and positioned towards the center of the board for better balance. Keep your kite slightly above your face, not touching the water.
The wing must obtain the necessary speed to launch the hydrofoil. Gently tuck your wing in (tuck = pull towards you on the handles or boom), keeping your arms more or less straight, slightly bent. This is to maximize traction. You need to achieve this acceleration while remaining stable on the board. Wait for the board to pick up speed, with the help of the wind blowing through the wing. Once the board is launched and stable, you can switch from sitting to standing. Start by lifting your front foot, as this will be easier. Keep your other knee in contact with the board. At this point, the wing should be high enough not to touch the water, but low enough to maintain good traction.
When you place your second foot on the board (back foot), make sure you distribute your weight evenly with the first. Be careful not to put too much pressure on the back foot. Keep your legs bent so that your center of gravity isn’t too high all at once, and maintain your balance. This technique helps you maintain sufficient stability to avoid falling. And if there are markers on your board, use them! It could be the footstrap inserts or the pad, or even a different color from another on the deck. If it’s the inserts, each foot should be right in front of each imaginary footstrap. Some beginners like to attach the front straps without even knowing how to fly beforehand, and stick their front foot in. This allows them to catch themselves in the event of a potential fall.
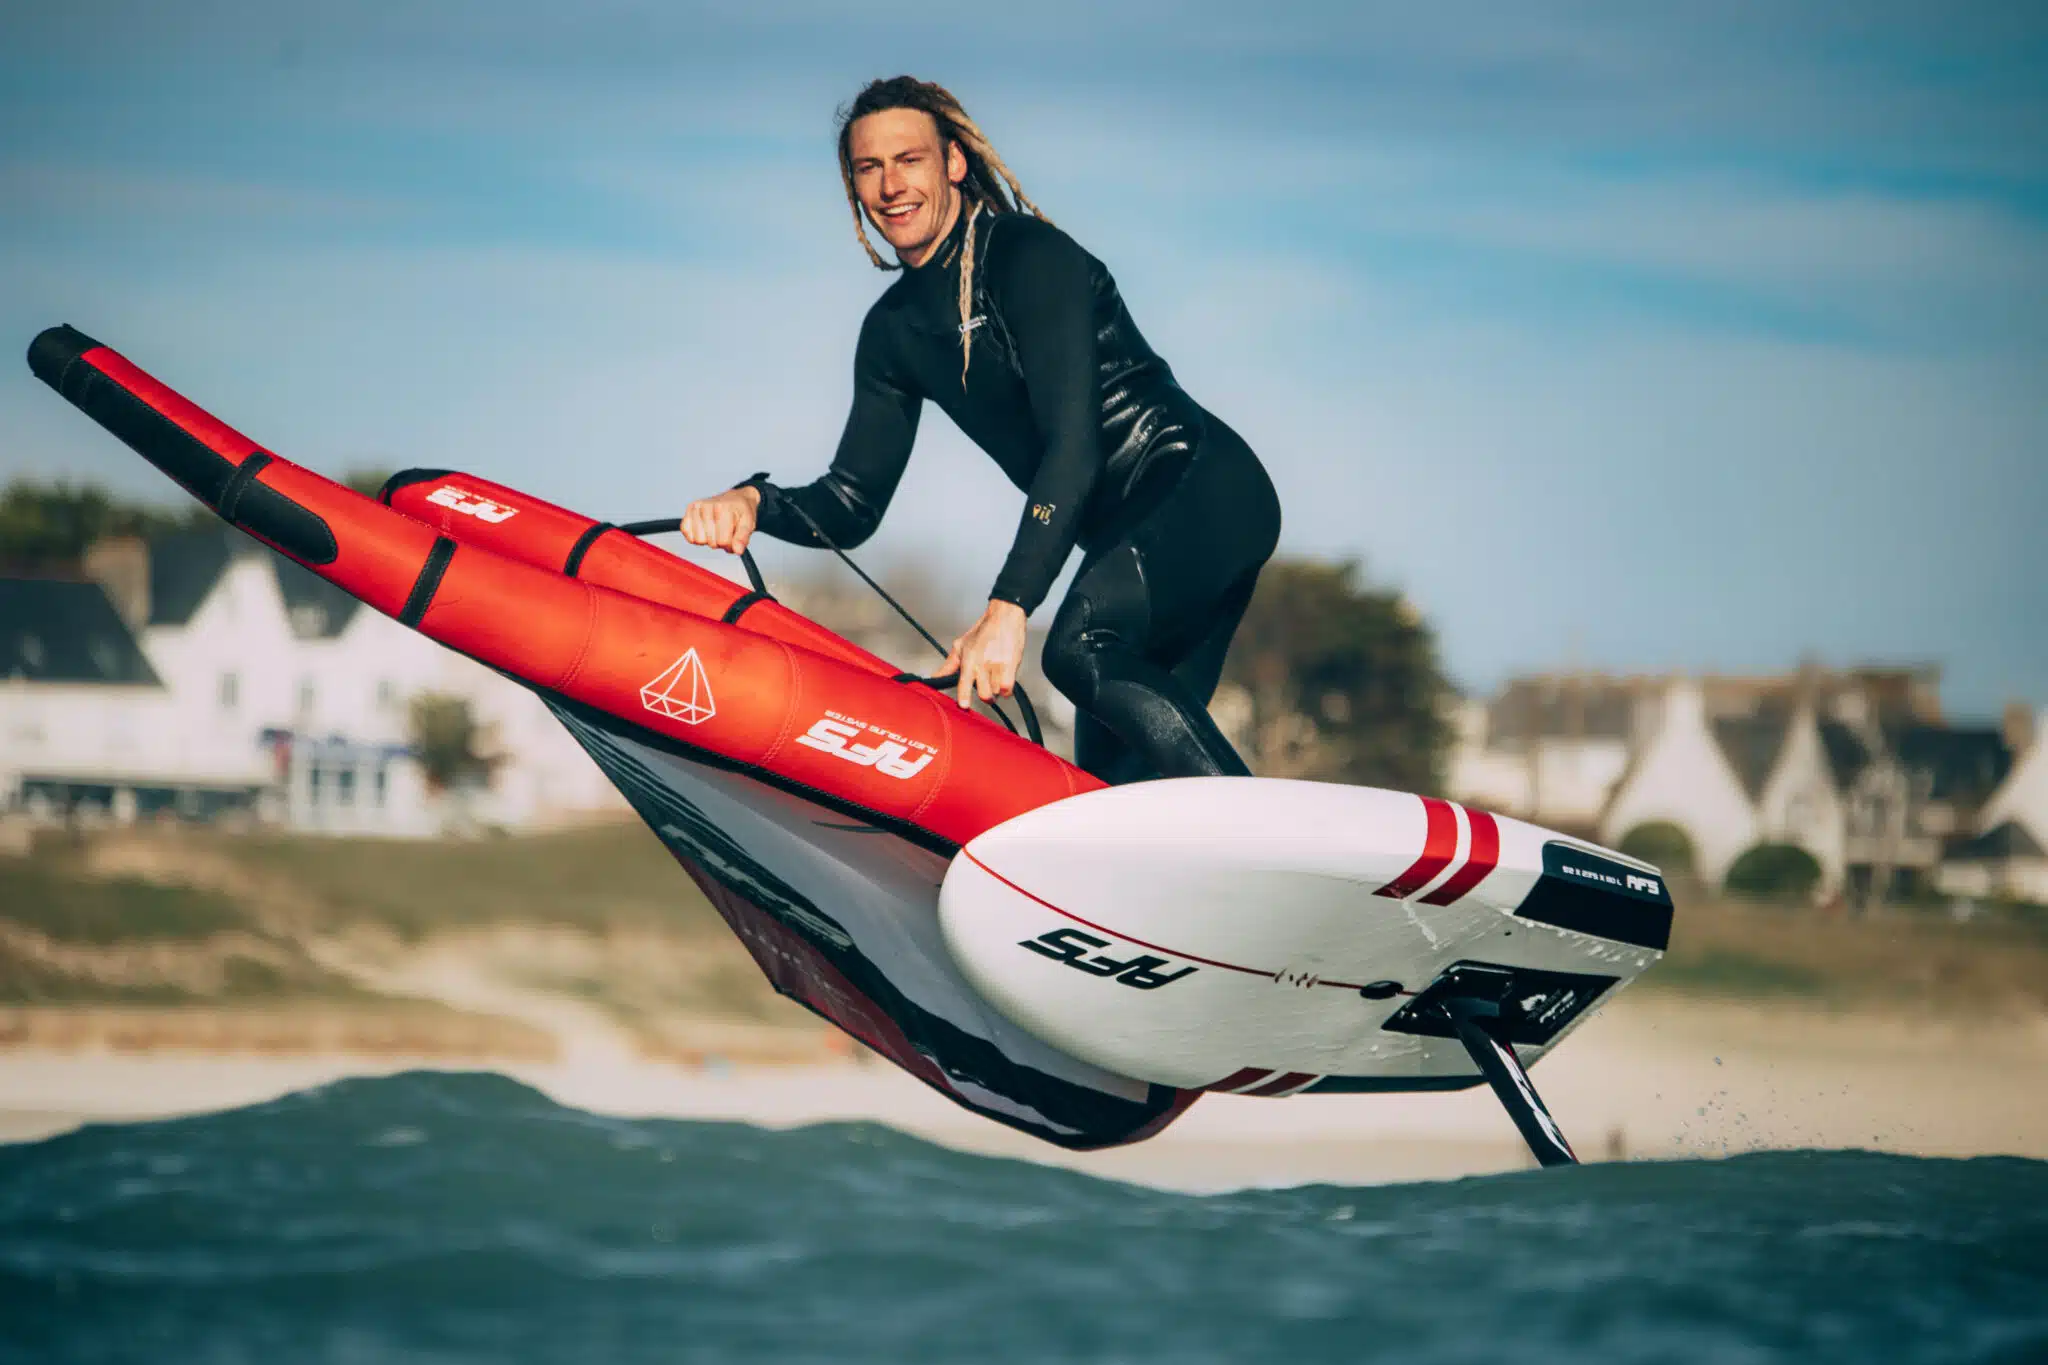
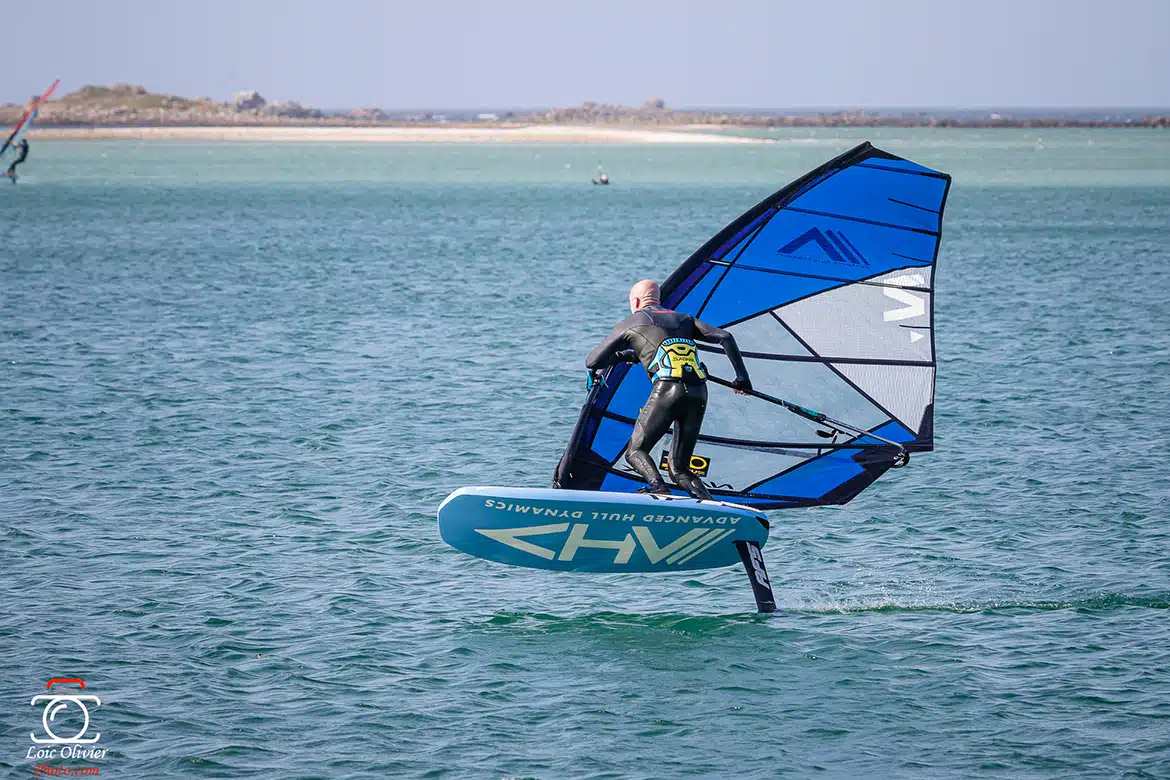
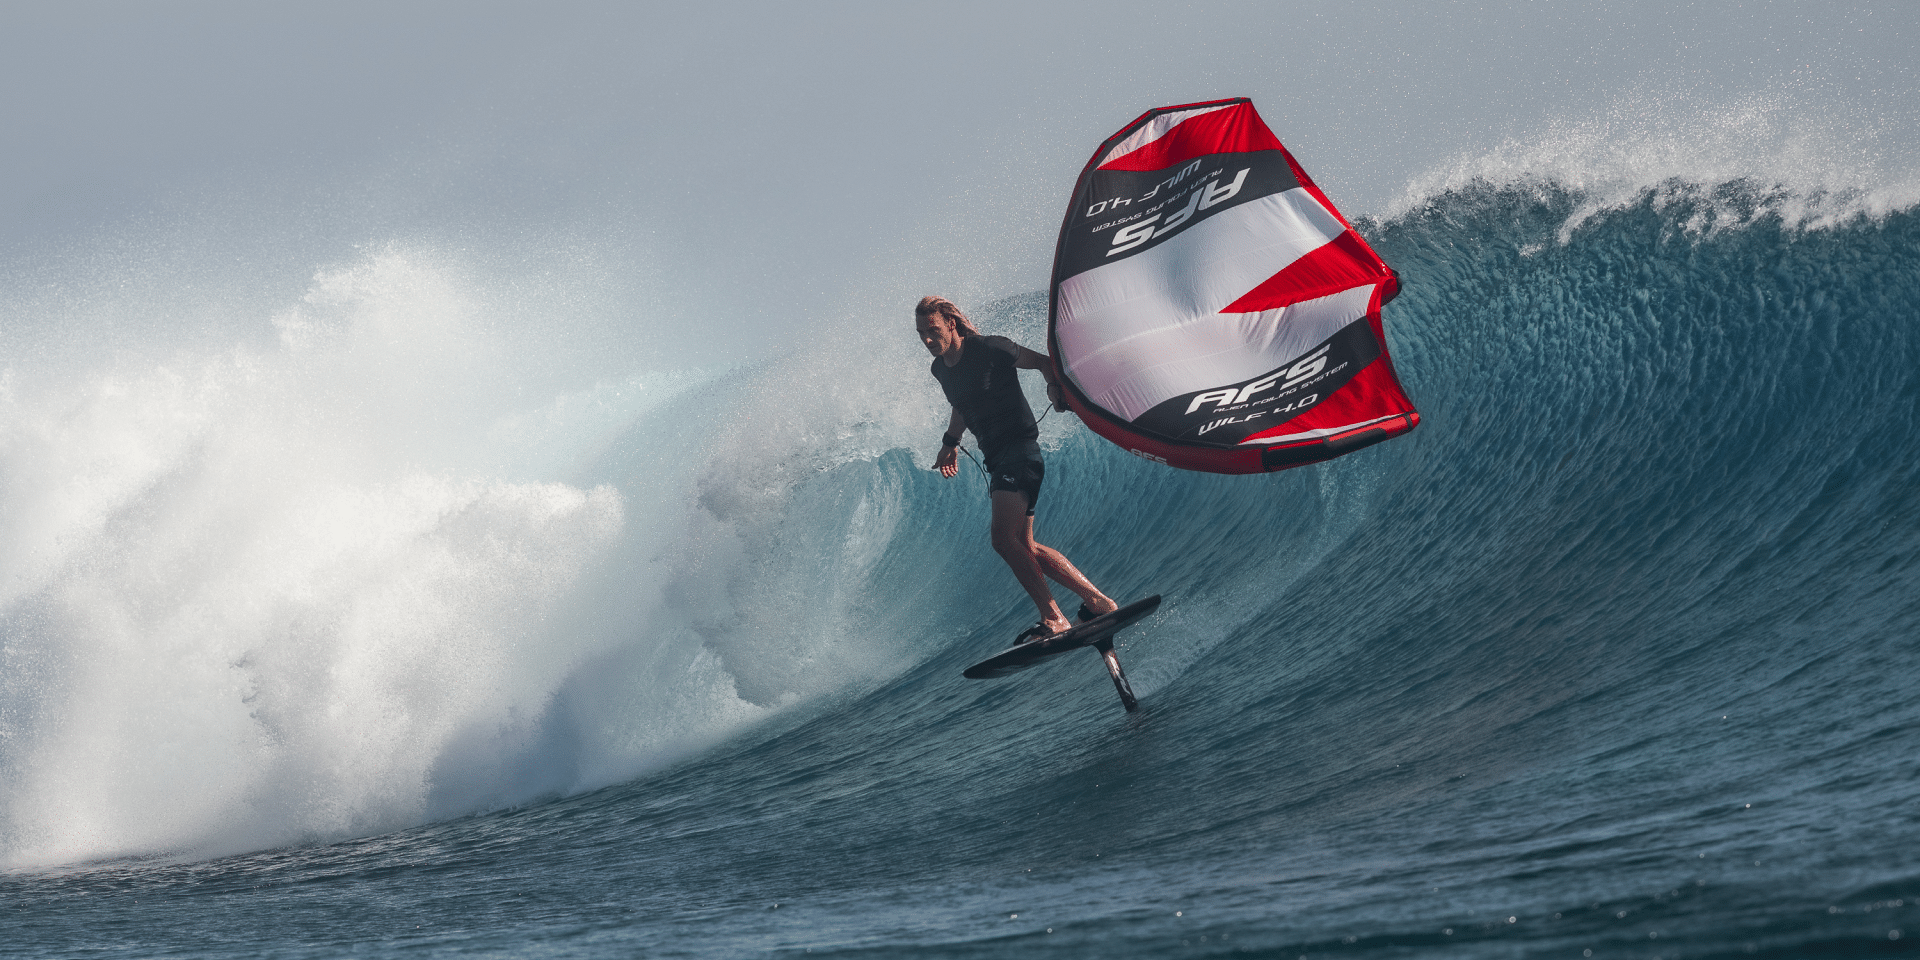
The wingfoil take-off, also known as the take-off or waterstart, is the stage during which the float rises out of the water… well, here we are!!!
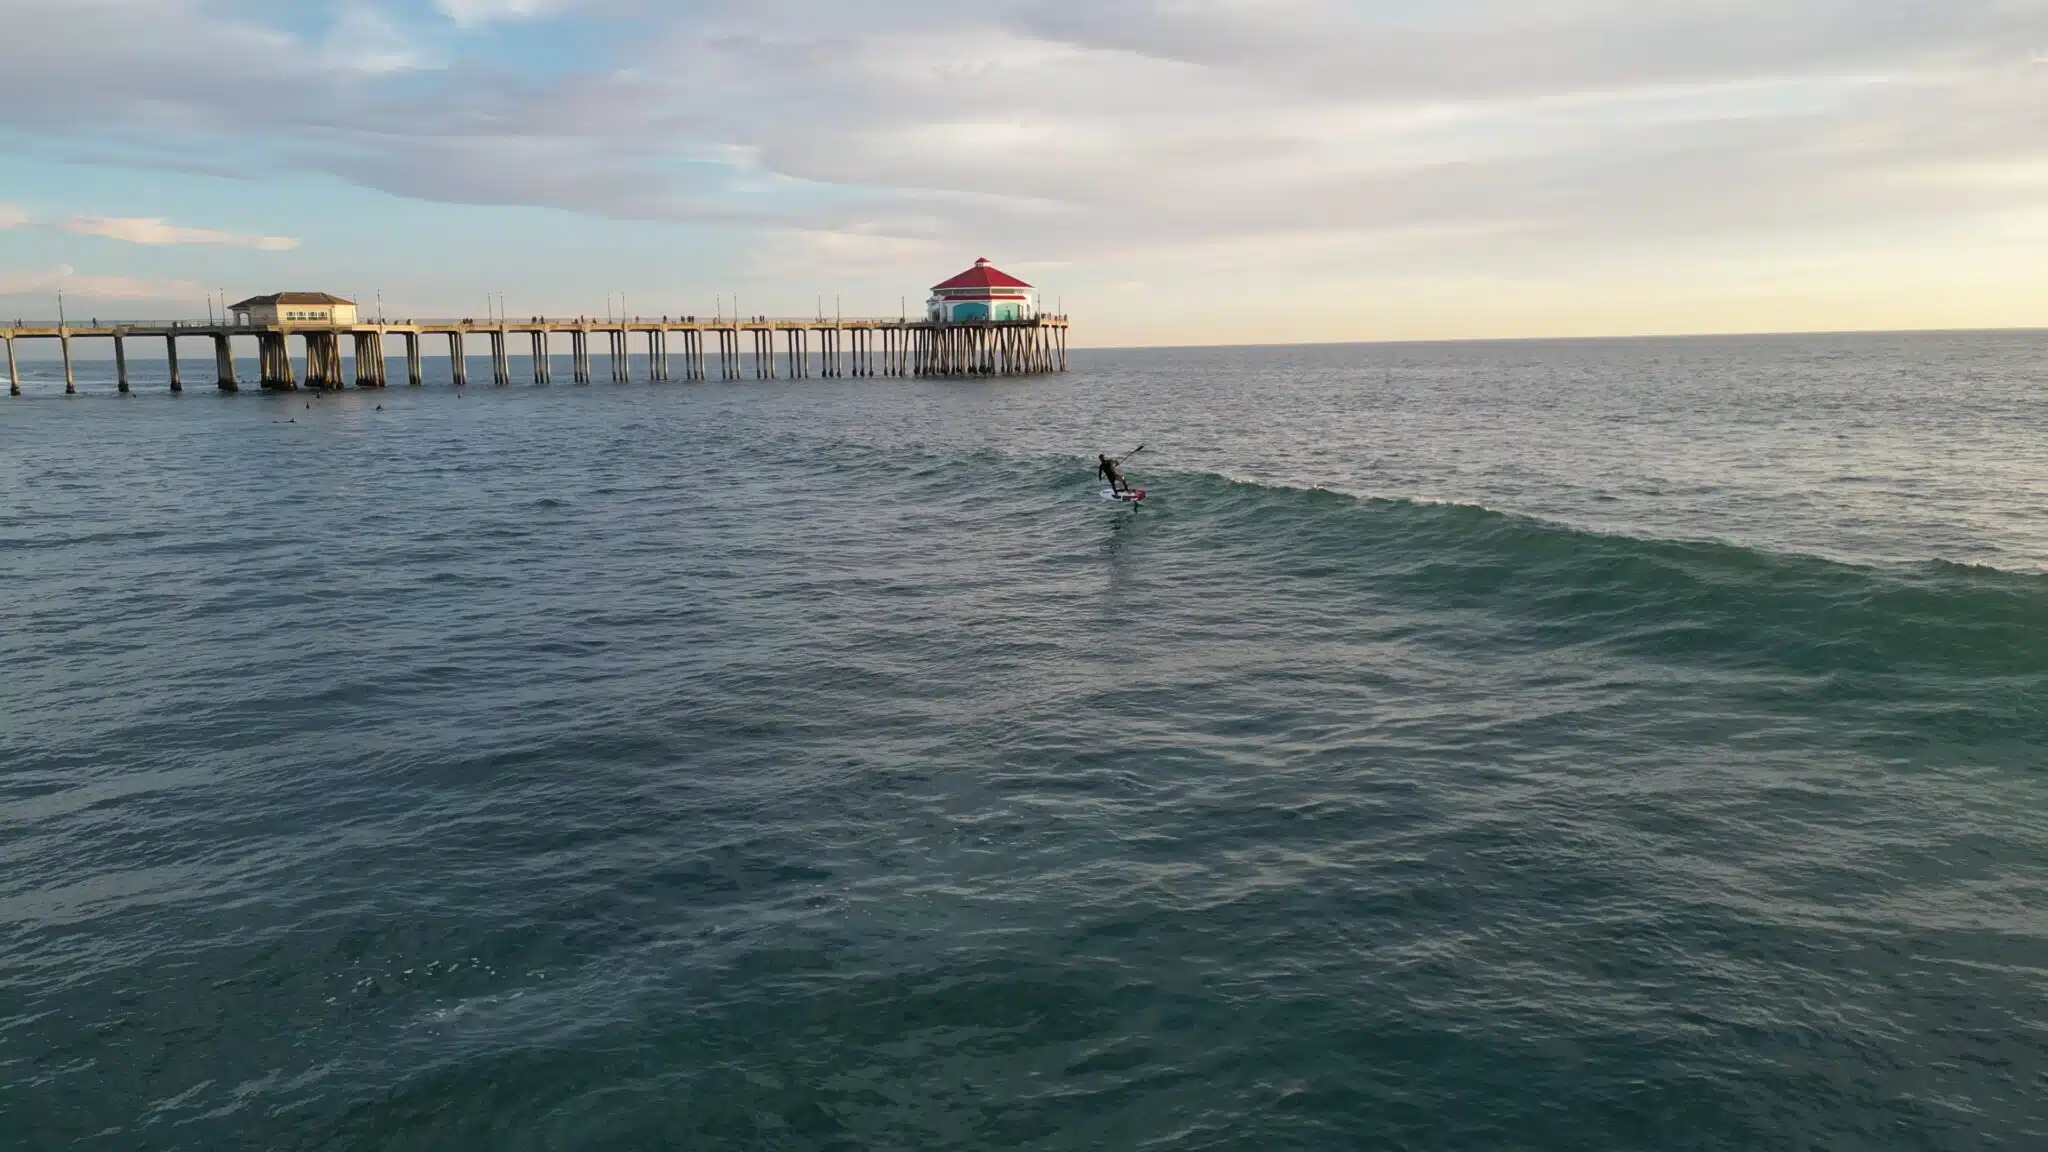
Once you’re well equipped with wing gear and have found a spot that suits your level, with moderate weather conditions, it’s time to take to the water to progress in wingfoil.
The ideal wind range (steady if possible) should be around 18-20 knots. It’s really the best to have enough power without having to carry the sail by force of arms. Or resorting to pumping. A light wind is not necessarily your best friend. And if the wind is blowing side-shore (= perpendicular to the beach), this will help you to set off and return to shore more easily and therefore more serenely. The calmer the water, the better you can concentrate on your trim, and thus on your waterstart.
Sit down and stand up on your board, and let’s go for a moment of great thrills and chills!
Foot placement and sail control are very important, especially when you’re just starting out. The rear foot is positioned roughly above the foil plate (the base that connects the foil to the board). As for the front foot, it’s necessarily in front, 40-50 cm from the second, i.e. towards the center of the float.
If you feel the nose of the board rising too fast towards the sky, you’re probably too far back and your sail is too open. You’re dropping so much that you end up going wide. In this case, put a little weight on the front and trim your sail more. On the other hand, if the board is dipping towards the surface of the water and you’re luffing too much (going into the wind, getting closer to the wind direction), then back off a little and pull less on your sail!
In general, however, the most difficult thing is to control the trim: in other words, to keep the board in flight. And this requires both support on the board and control of the glider. If you’ve already got your position wrong before takeoff, it’s going to be difficult to fly for more than a few seconds. But if you manage to control your glider and position your feet and body correctly, you should be fine!
Remember that every part of your body – from your feet to your head, arms, legs and pelvis, not forgetting your shoulders – is under constant strain during flight. You have to constantly regulate your whole body. It has a controlling and influencing effect on your wingfoil equipment.
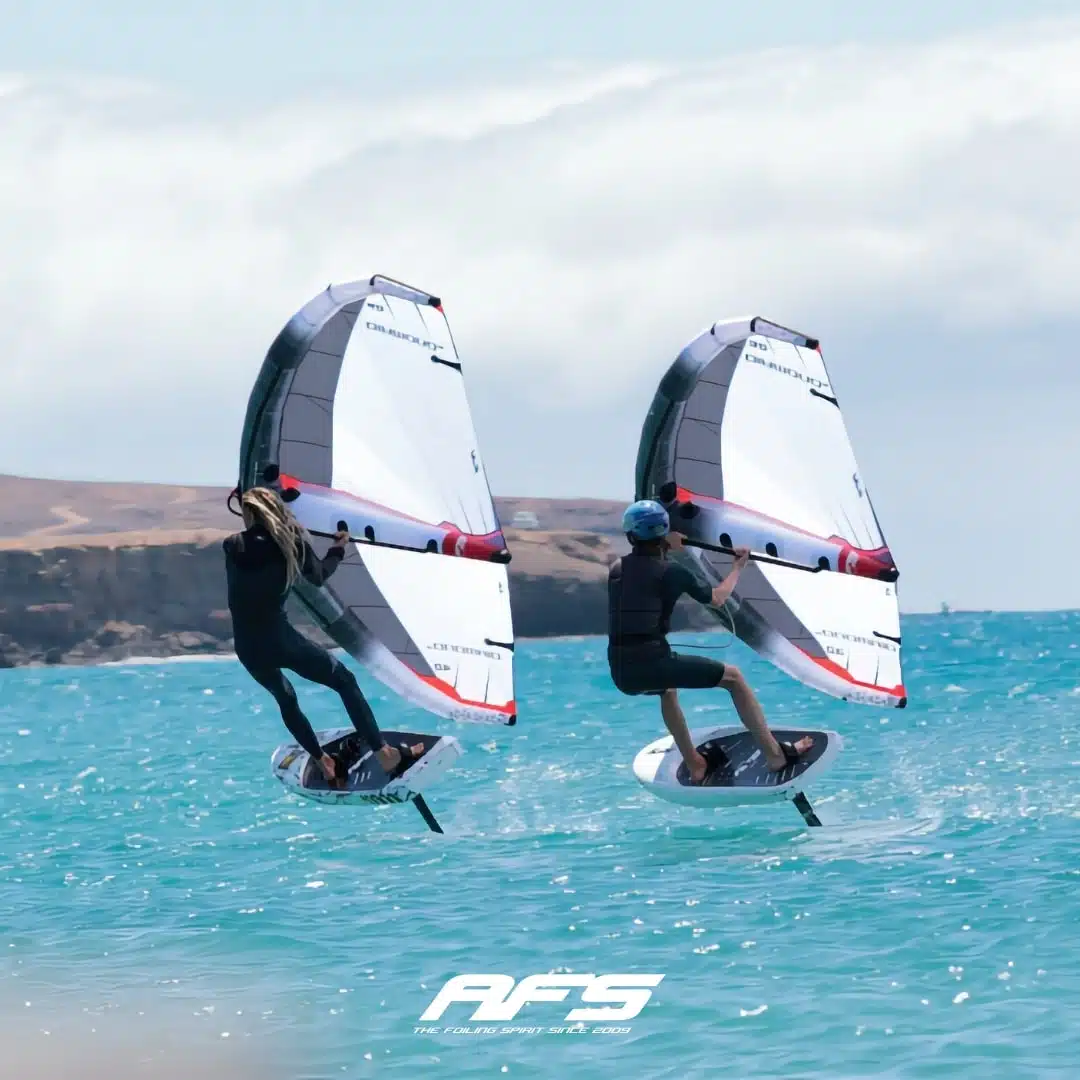
The float should remain about 30 cm above the surface of the water. All the while keeping a crosswind course to better manage your trim (when you’re learning to wing). And if you manage to tilt the windward float rail slightly towards the water’s surface (counter-heeling), you’ll gain speed and more time to catch your mistakes in case of imbalance or potential fall.
Finally, just before the waterstart, when you feel your board accelerate and the foil start to lift you, relax and let it happen. Don’t force it, just pull lightly on the sail without pushing too hard on your heels. Tell yourself that you’re the captain of your new flying machine… And all that’s left for you to do is pilot your wing, which is, in a way, your engine at the start.
Click & Collect
Secure payment in 3 or 4 instalments
Advice from enthusiasts
Satisfied or your money back
2 to 3 years warranty
Worldwide delivery
Votre emplacement actuel et les langues disponibles
Your current location and available languages
![]()
Build your complete foil equipment according to your practice and objectives.
Answer a few quick questions and get a suggestion.
Compare up to three stabilizers side by side.
Coming soon...


You will receive a product in excellent condition, with a few minor scratches from use.
Your product may have a few minor scratches or visual defects, but it's ready to take to the water again!
Despite deeper scratches or more pronounced visual defects, your product can take to the sea without hesitation: at this price, it's a shame to miss out!